Current Activity
Mischief is on the hard, she came out in October 2017 and is on her scaffold cradle. Work underway includes making a spray-hood, lee clothes, self steering system and dropping the mast.
Electrical Distribution
This part of the project now has it's own section.
Stainless Drogue Plates
I am making up drogue tether plates. The stainless needs polishing, cutting, drilling and bending. It is 50mm x 6mm so almost heavy engineering!

These have been lightly polished and drilled.

Next they need a bit more polish and the eye drilled for the shackles.
A trial fit indicated that the inside backing plates need to be trimmed but they looked OK on the hull.

Fitted and looking OK
Spinnaker Pole
Having looked at the price of poles I have decided to make my own. So far this has cost less than £20 for wood and jubilee clips. I bought some planned 12mm battens from the local DIY shop and I am making a Bird's mouth spar.
The plan
Lee Clothes
These are installed, I hope they are high enough.


Self Steering
Moved to Steering Systems page

I made a template out of laminate floor underlay and it looked OK but I didn't get a photo.

Initial build is going OK, looks like I have the thread tension too high on my beloved Husqvarna Viking :-(. Hopefully the wrinkles will come out when I fit it with some tension on the boat. I think functional rather than pretty will be adequate.
First fit is looking OK, I still have to adjust the central seam and trim and tape the edges. Hopefully the next fitting will have the webbing fitted so that I can put some tension on the front and sides.

Through Hull Removal
Having removed the log impeller and the heads seacock I was ready to glass the opening in. First I ground out the openings to remove paint and create a taper.


Then I covered the holes with a couple of layers of cloth from the inside.
 This provided a solid layer to work from on the outside.
 The heads seacock being in the fore section might need additional reinforcing but I will take a view on this once I have glassed in from the outside.
Having looked into many options for power I am probably going to use the old outboard although it is too heavy and I don't trust it. As a back-up I intend to use either sweeps or a scull.
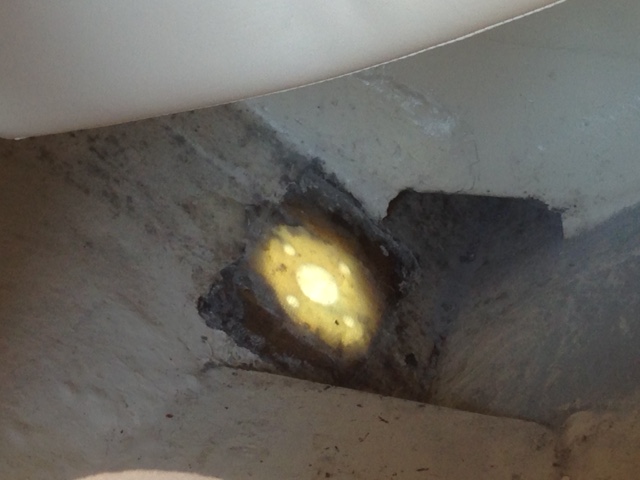
The coach roof is a problem. I fitted a couple of deck lead blocks and found the core to be very wet. My current plan is to drill a section of test holes to find out how wide spread the water has reached, leave these holes with wicking to reduce the moisture and where necessary cut away the inner laminate. This might all change when I start to run out of time and patience.
The skeg is worrying me, I haven't been able to hack out the construction foam from the steel strut and I lost a 1m stud rod in it!! Plan is to drive a stainless steel section to reinforce it from the inside and glass / epoxy the outside.
Focus going forward is to get the boat back in the water. Chain plates fitted, rubbing strakes back on, mast back up, skeg fixed and hull painted. I have asked for a November launch slot.
The mast is back up after fitting new a tri-colour lamp, radar reflector, steaming lamp, spare fore-stay, new running rigging and inspection. There is some surface aluminium corrosion but mast seemed sound and nothing significant visible. Again, the A frame and lateral stays with chains worked very well and it was a one man job. Stays getting caught was the biggest problem.


Additional chain plates were fitted to the hull for the cap stays but these were not attached. I tensioned the rig with a friends Loos tension gauge but will re-do this one launched.
I tried inserting stainless section into the existing steel section but this didn't work. I used mastic to reattach the fibre glass to the metal section and then glassed over all of this. This was left wrapped up to cure. Next I will need to fair and undercoat the repair. Less worried now but anxious to check how the fibre glassing has worked.
Keel and bare patches on the hull were primed and undercoated.
Pre-launch job list stands at; complete skeg repair, prime hull, anti-foul hull, fit rubbing strakes. I am starting to believe that this is achievable.
Last weekend in October 2018
Launch date set for 29th October, this suits the club Shoremaster as there are 4 boats that need moving before I can get Mischief out. So a full weekend of work; anti fouling 2 coats done, rubbing strake oiled, topside polished, drogue tether spliced on, new bearings in furling system, sails on board and junk removed. She is ready.


It was a bit dark by the time I had a chance to take some snaps. That red think on the poop deck is the outboard engine plug. All I need to do now is get the outboard working and on board.
3/11/18
Mischief floats, minimal ingress of water in the keel area, damp rather than wet after a week. Started to transfer heavy items from Chantilly such as second battery.
13/1/19
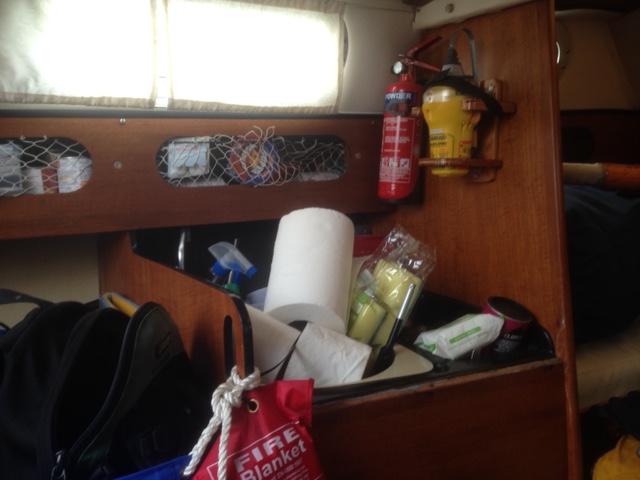
Starting to feel a bit more like home.


Communications and Electronic Navigation Aids
It has been my plan to install robust, redundant VHF, AIS, GPS and Chart plotter systems for as little cost and current draw as possible. To this end I have re-used the VHF Radio and AIS Class B transceiver from Chantilly. I have also moved the EPIRB and handheld VHF radio from Chantilly and re-registered them with Ofcom so that I can keep the MMSI and only change the vessel's details.
To bolster the installation and reduce current draw I built a GPS module to feed NMEA data to the VHF radio, this gives a combined current draw of 330mA. At less than £20 and lower current draw than my Garmin GPS I am a happy bunny.

As an alternative the GPS output from the Matsutec AIS can be used to provide GPS data to the VHF Radio. Through a quirk of fate I have a GPS module that works with the Matsutec HP33A and this cost £2.92 from ebay. This is a back-up for the taff rail mounted GPS antenna.
The system looks something like this schematic.


Electrical Distribution
This part of the project now has it's own section.
Stainless Drogue Plates
I am making up drogue tether plates. The stainless needs polishing, cutting, drilling and bending. It is 50mm x 6mm so almost heavy engineering!

These have been lightly polished and drilled.

Next they need a bit more polish and the eye drilled for the shackles.
A trial fit indicated that the inside backing plates need to be trimmed but they looked OK on the hull.

Fitted and looking OK
Spinnaker Pole
Having looked at the price of poles I have decided to make my own. So far this has cost less than £20 for wood and jubilee clips. I bought some planned 12mm battens from the local DIY shop and I am making a Bird's mouth spar.
The plan

Roughed out battens

Battens become staves

Dry run, shape looks OK

Glue up, centre core helps with build and gives strength where the lifting eye is.

Glued up and bound / jubilee clip clamps

How the birdmouth construction looks

Glued up and ready for planning 

First plane 

Lee Clothes
These are installed, I hope they are high enough.


Self Steering
Moved to Steering Systems page
Sprayhood
Frame fitted with deck mounts crewed and glued to cockpit coaming.


First fit is looking OK, I still have to adjust the central seam and trim and tape the edges. Hopefully the next fitting will have the webbing fitted so that I can put some tension on the front and sides.

Through Hull Removal
Having removed the log impeller and the heads seacock I was ready to glass the opening in. First I ground out the openings to remove paint and create a taper.


Then I covered the holes with a couple of layers of cloth from the inside.

Looking Forward
The electrical panel is a priority in terms of comfort when I stay overnight but the real priority is the hull and mast. I have glassed over the through hull fittings but need to fair them off and reinforce them from the inside. I am all set up to needle gun the keel and fair it but not sure about the hull, I will probably just anti-foul it. The mast can only come down once I am happy with the sprayhood and that will take a bit more time to ensure a reasonable fit.Having looked into many options for power I am probably going to use the old outboard although it is too heavy and I don't trust it. As a back-up I intend to use either sweeps or a scull.
The coach roof is a problem. I fitted a couple of deck lead blocks and found the core to be very wet. My current plan is to drill a section of test holes to find out how wide spread the water has reached, leave these holes with wicking to reduce the moisture and where necessary cut away the inner laminate. This might all change when I start to run out of time and patience.
September 2018
Finally got the mast down. The A frame rig worked very well but I had to wait for a calm day. It was a one man job, just hope it goes up as well.The skeg is worrying me, I haven't been able to hack out the construction foam from the steel strut and I lost a 1m stud rod in it!! Plan is to drive a stainless steel section to reinforce it from the inside and glass / epoxy the outside.
Focus going forward is to get the boat back in the water. Chain plates fitted, rubbing strakes back on, mast back up, skeg fixed and hull painted. I have asked for a November launch slot.
October 2018
A very productive weekend.The mast is back up after fitting new a tri-colour lamp, radar reflector, steaming lamp, spare fore-stay, new running rigging and inspection. There is some surface aluminium corrosion but mast seemed sound and nothing significant visible. Again, the A frame and lateral stays with chains worked very well and it was a one man job. Stays getting caught was the biggest problem.


Additional chain plates were fitted to the hull for the cap stays but these were not attached. I tensioned the rig with a friends Loos tension gauge but will re-do this one launched.
I tried inserting stainless section into the existing steel section but this didn't work. I used mastic to reattach the fibre glass to the metal section and then glassed over all of this. This was left wrapped up to cure. Next I will need to fair and undercoat the repair. Less worried now but anxious to check how the fibre glassing has worked.
Keel and bare patches on the hull were primed and undercoated.
Pre-launch job list stands at; complete skeg repair, prime hull, anti-foul hull, fit rubbing strakes. I am starting to believe that this is achievable.
Last weekend in October 2018
Launch date set for 29th October, this suits the club Shoremaster as there are 4 boats that need moving before I can get Mischief out. So a full weekend of work; anti fouling 2 coats done, rubbing strake oiled, topside polished, drogue tether spliced on, new bearings in furling system, sails on board and junk removed. She is ready.

3/11/18
Mischief floats, minimal ingress of water in the keel area, damp rather than wet after a week. Started to transfer heavy items from Chantilly such as second battery.
13/1/19
Starting to feel a bit more like home.


Communications and Electronic Navigation Aids
It has been my plan to install robust, redundant VHF, AIS, GPS and Chart plotter systems for as little cost and current draw as possible. To this end I have re-used the VHF Radio and AIS Class B transceiver from Chantilly. I have also moved the EPIRB and handheld VHF radio from Chantilly and re-registered them with Ofcom so that I can keep the MMSI and only change the vessel's details.
To bolster the installation and reduce current draw I built a GPS module to feed NMEA data to the VHF radio, this gives a combined current draw of 330mA. At less than £20 and lower current draw than my Garmin GPS I am a happy bunny.

As an alternative the GPS output from the Matsutec AIS can be used to provide GPS data to the VHF Radio. Through a quirk of fate I have a GPS module that works with the Matsutec HP33A and this cost £2.92 from ebay. This is a back-up for the taff rail mounted GPS antenna.
The system looks something like this schematic.

I dropped my handheld VHF radio and the antenna fell off, it is a cheap Cobra non DSC unit. Instead of re-attaching the antenna I fitted a BNC connector to the antenna and the unit, now I can connect the Handheld VHF to either VHF antenna mounted on the boat.
For a chart plotter I intend to continue use of Navionics on my iPad and iPhone.
I have had a continuing problem of salt deposits in the outboard that clog up the cooling. I did try running the engine in a cooler box filled with fresh water but this made the cockpit very cluttered and wasn't totally successful. My latest method is to use a small 12v windscreen washer pump. Here is the set up,

I back feed fresh water through the tell tale pipe. This uses less than a litre of water. We'll see how well it works in due course.
Comments
Post a Comment